HOW TO LAY CONCRETE PAVERS - DIY
Materials In The Raw can happily assist with your DIY paving projects!
Preparation
Creating a paved area is actually a very manageable home DIY task that makes a large difference to your home’s aesthetic, and how you get to enjoy the outdoors. Whether you’re creating a pathway or an entire patio, some simple planning will ensure a professional outcome.
Get Council Approval
DIY paving can usually be done without council approval, however, if you plan on laying driveway pavers or working in an area where water runoff is a problem, you might have to contact your local council. Some newer residential communities also have covenants on the use of driveway materials, meaning you’ll need to get approval before proceeding.
Paving Equipment List
- Garden Gloves
- Wheelbarrow
- Spade
- Rubber mallet
- Road base
- Coarse sand
- Fine sand / joining sand
- Ear muffs
- Spirit level
- String line
- Cement
- Whacker packer
- Brick saw
- Straight edge
- Broom
- Small trowel
How Many Pavers Do You Need?
You’ll need a pencil, paper and tape measure to measure the length and width of the paving area. Multiply one by the other to learn the total area in square metres. Landscaping suppliers typically ask for this figure to know how many pavers you need, as well as road base and river sand.
On any paver product page on this site, you will also find a calculator where you can learn the quantity required of that particular paver. But keep in mind, if there are going to be any curved areas or cuts, you may need to calculate some extra pavers to allow for this – generally an extra 2-5% is workable.
Important Safety Tips
- If there are electrical wires where you're paving, remember to Dial Before You Dig
- Always wear eye protection when splitting or cutting your pavers
- Always wear eye protection when using a whacker packer
- Bend your knees when lifting heavy pavers
- Wear pork boots to protect your feet and gardening gloves to protect your hands
- Slip slop slap if you are working in the sun and keep your fluids up.
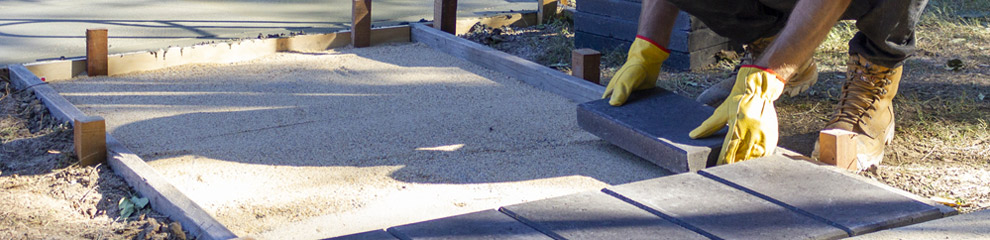
How To Lay Pavers – Installation
Mark out the area to be paved, allowing a little extra working room at the edges. Remove all loose debris and vegetation and make sure you excavate deep enough to allow for the selected paver thickness and sub base construction. Ideally you’ll want to lay 75mm of road base and 20mm of river sand. So if you’re using Euro Classic pavers, which are 40mm thick, you must excavate 135mm deep (75+20+40mm).
Distribute the road base evenly over the excavated area, ensuring to set up with the fall in mind. Use a whacker packer to compact the road base, repeating this at least three times, changing direction each time. Start spreading the river sand to a thickness of 20mm. Screed the sane with a timber float and straight edge, using a level to create a flat surface. Remember you may need to allow a slight angle for water to run off.
Begin by setting up a header course off along one side, preferably the longest side of the paved area. Be sure to leave a 3mm gap between each paver to allow for adjustment, as well as reducing potential paver damage. Some Adbri Masonry pavers, such as the Quadro range, have a 3mm nib to help you maintain an even gap.
After this is done, create a 90 degree angle at one end of the paved area with a straight edge and set square, then begin to lay pavers (remember to keep your 3mm gap).
Step 4 – Edging & Locking The Paving
For any paving edge that is not up against a wall you will need to use a sand and cement mix to haunch or lock in the header course. By supporting the outside of your paving job, it’ll prevent the rest of the pavers moving and adjusting over time.
Handy tip: it’s useful to add a little sand and cement underneath the outer header course, as this will create a stronger support.
After all the pavers are laid, make sure they are dry and add wither washed beach or locking sand. Sweep this sand in dry and let it work its way between the pavers.
Once settled, you can use a whacker packer with an old piece of carpet underneath to compress the pavers into the sand bed, ensuring a great finish. Some locking sands will require a light spray/misting with the hose to help firm the pavers in place.
Congratulations! Now all you need to do is sit back and enjoy your hard work.